I picked up a Munny awhile back so here is what I've been doing with it:
 I recently picked up an airbrush to mess around with and base coated the munny light blue:
 I then started working on the antlers by taking some wire and foil:
 After making a rough shape for the antlers I took some sculpey and formed it around the foil:
 I went back to the body and painted a big spot on the belly and worked on the head:

Its turning out pretty cute so far.
Here is how the body looks assembled with the arms in:
 After painting the face on I glued the antlers on and wah LAH! I call him MuSu!


I pegged my initials and date on the bottom. MuSu rules! I love him!
See him on deviantart!


 Okay, so I went with the spraypaint. I made the stencils out of posterboard... not the greatest to use, they do tend to get all wavey and curl in contact with the spray paint.
 Yup... This is the ghetto... the ghetto of trees where I make most of my spraypainted paintings and stuff.
 Here is part of the stencil I cut out. spraypainted the mouth red and when I took it off the painting I was like "OMG! I made a zombie!" I think I'll have to paint my stencil and hang it up somewhere.
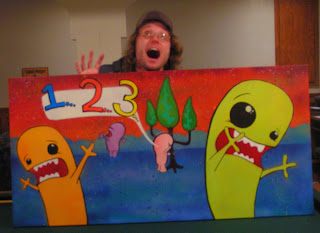
 Here is how the painting is going. theres going to be an orange character on one side and a big green character on the left. Dont worry about the center, I just placed my stencil there.


 I know my sketches are horrible!!! Stop laughing! *shake fist*


 In the above pic you can see I already started outlining the robot with some paint markers.


